
Why We Love This Kinetic Sand Recipe?
If you’ve never heard of Kinetic Sand before, it’s a particular type of sand that’s said to be “magically” soft and smooth. It’s also supposed to be very easy to clean up since it doesn’t stick to surfaces like regular sand. The kinetic Sand recipe is also a fantastic sensory play activity and it works really nicely as a base material for making your own sensory bins.
In today’s post, we’re going to learn more about this magical substance, and how you can integrate it into your child’s sensory play at home. We will also show you a really fun Kinetic Sand Treasure Box that you can find at most retailers.
Let’s jump right in and have fun!
Note: Affiliate links may be used in this post. I may receive a small commission at no extra cost to you if you use my affiliate link. Full disclosure policy here
So, Why Is Kinetic Sand Such A Popular Sensory Play Activity?
- First, it’s very visually appealing. The colorful sand is fun to look at and can be used to create all sorts of shapes and designs.
- Second, it has a unique texture that’s both satisfying to touch and mold.
- And lastly, it makes a great “crunching” sound when you squeeze it, which can be soothing for some children.
- Kinetic Sand is also non-toxic and hypoallergenic, making it a safe choice for kids with sensitivities.
Now that you know a little bit about Kinetic Sand, let’s move on to the buried treasure box hunt!
This activity is perfect for kids who love to dig and search for hidden treasures. It’s also a great way to work on those fine motor skills!
Buy The Kinetic Sand Treasure Chest Sensory Play Activity here:
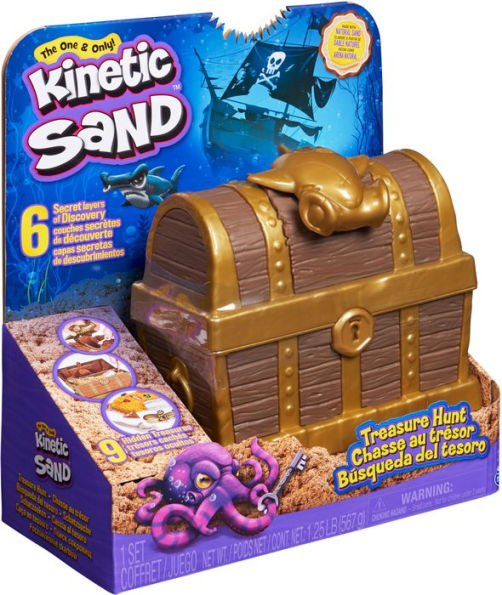
Kinetic Sand Recipe Buried Treasure Box Activity
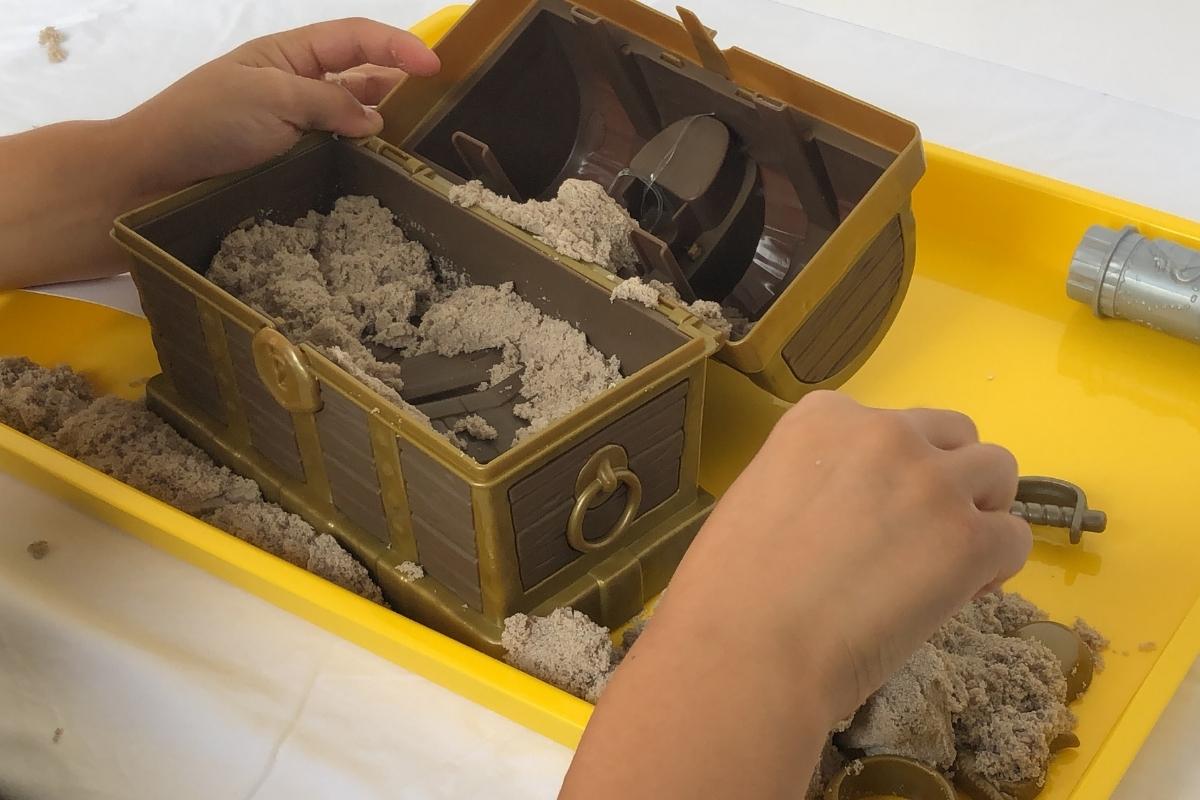
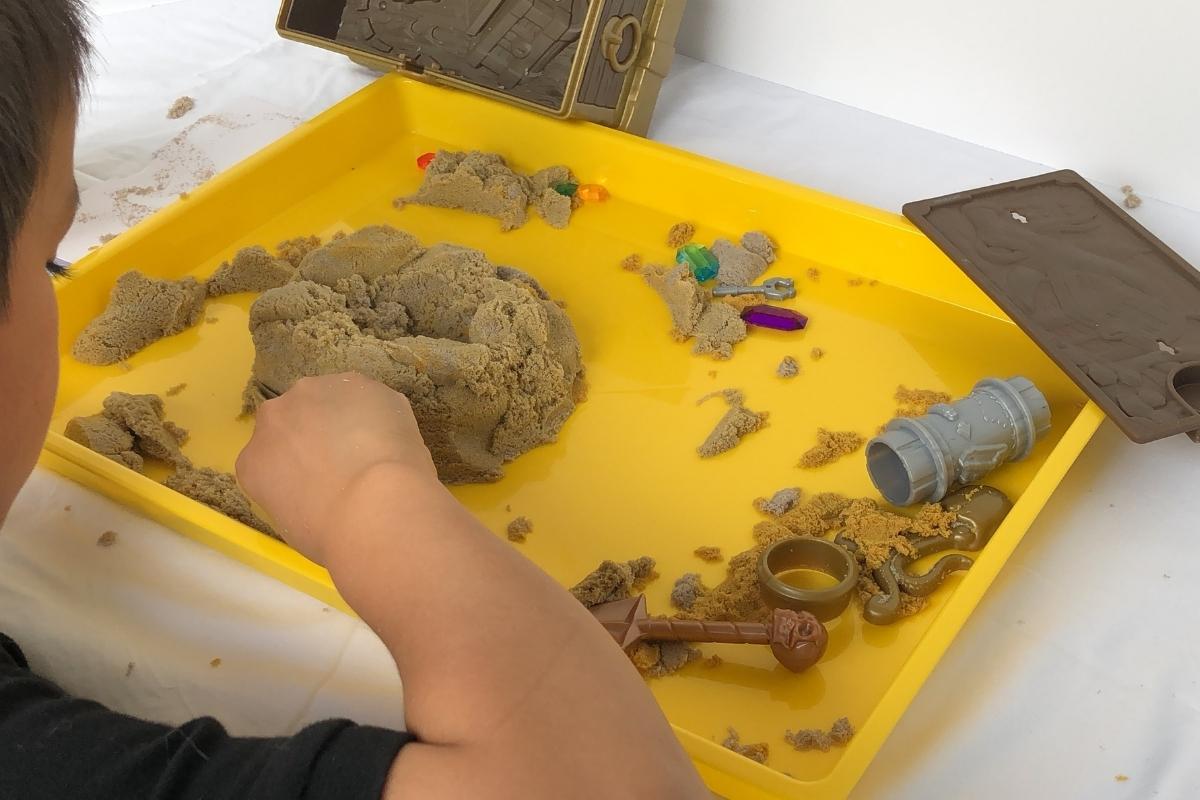
I picked up this Kinetic Sand Treasure box at our local retail store and couldn’t wait to have our son jump in and play with it. The treasure box is fun and comes with a key that you use to open the upper latch of the box.
The lid of the treasure box has a small shovel for digging through the kinetic sand in order to find the hidden items in the treasure box.
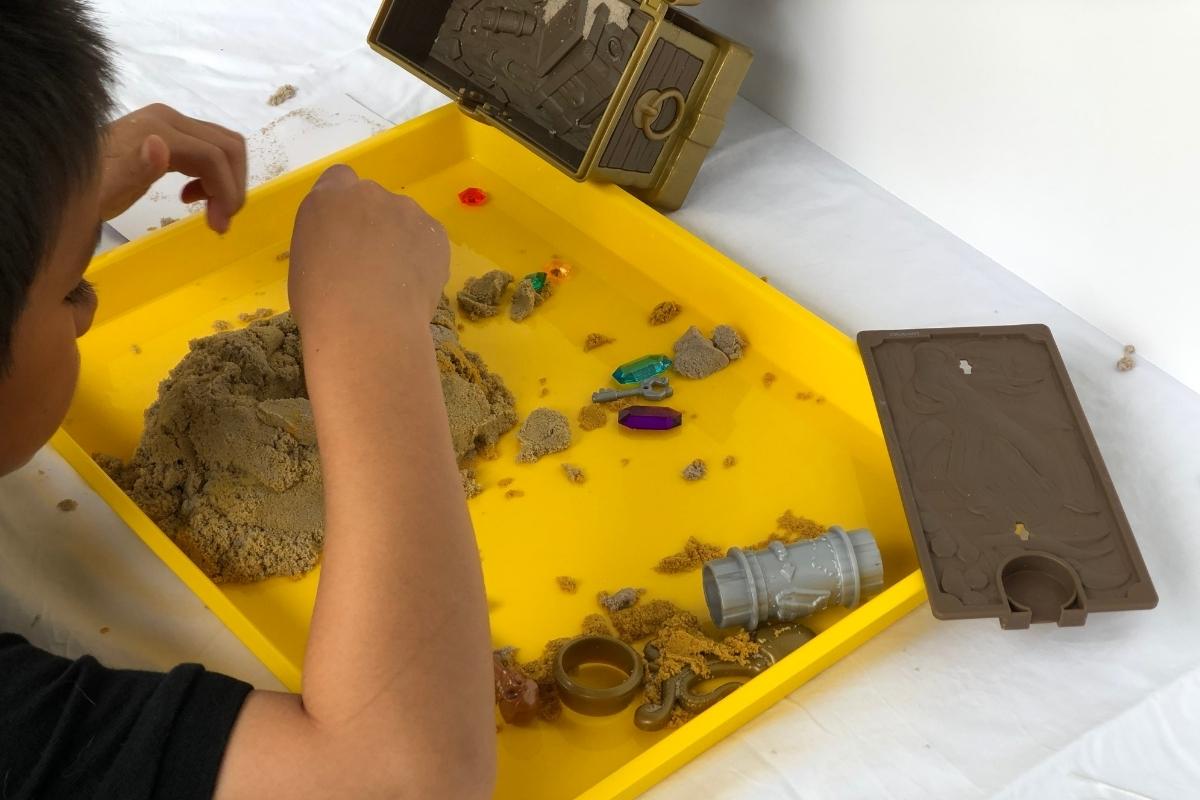
What we didn’t initially realize was that there is a secret compartment to this treasure box at the bottom. Simply use the included small shovel to unlatch the bottom compartment and it will come out at the bottom.
This secret chamber holds more items in golden-colored kinetic sand with really cool gems to find.
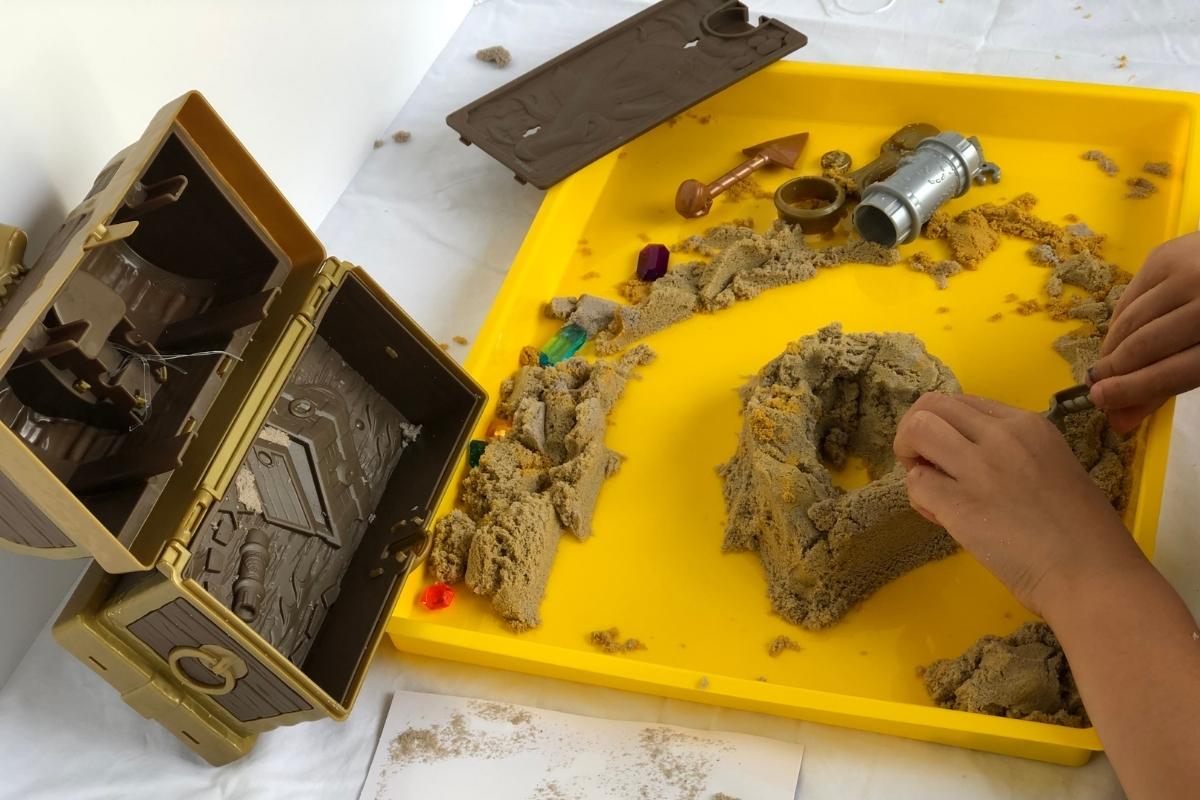
Overall, this treasure box from Kinetic Sand was a lot of fun and our son enjoyed playing in it. I would definitely recommend this one for your kids for a fun afternoon of play. It’s inexpensive and provides everything you’ll need for this fun sensory activity.

How To Make Your Own Kinetic Sand Treasure Box At Home
The store-bought Kinetic Sand treasure box is a lot of fun, but what if you want to make a more custom kinetic sand treasure box with different items, or you want to make a much larger sensory bin-style treasure box?
Well, you’re in luck as we are going to tell you how you could set up just such an item right now. And we will definitely be setting up a larger kinetic sand sensory bin in a future post, so keep an eye out for that.
To Set Up Our DIY Kinetic Sand Treasure Box We Will Need The Following Items:
- A small plastic sandbox or container
- Kinetic Sand
- Small toys or objects to hide in the sand (we used plastic dinosaurs)
- A shovel or measuring cup
- A timer (optional)
To start, fill your sandbox or container with Kinetic Sand. Then, hide the small toys or objects in the sand. We like to bury them fairly deep so it takes a little bit of work to find them.
Once everything is hidden, give your child a shovel or measuring cup and let them start digging!
If you want to make it a bit more challenging, you can set a timer to see how long it takes them to find all of the hidden treasures.
If you’re looking for an activity that’s both fun and educational, look no further than the Kinetic Sand buried treasure box hunt!
Not only will your child love digging for hidden treasures, but they’ll also be working on those fine motor skills and problem-solving abilities.
Here Are Some Kinetic Sand FAQs(Frequently Asked Questions)
Why Is It called Kinetic Sand?
Kinetic Sand is a type of sand that is made from 98% sand and 2% polydimethylsiloxane.
The sand is also coated with silicon dioxide, which gives it a smooth, velvety feel.
The name “kinetic” comes from the fact that the sand is able to move and flow like a liquid, yet it is still solid.
This makes it a great material for sensory play, as it can be used to create all sorts of interesting shapes and textures. It is also non-toxic and safe for children to play with.
How Do You Keep Kinetic Sand From Getting Everywhere?
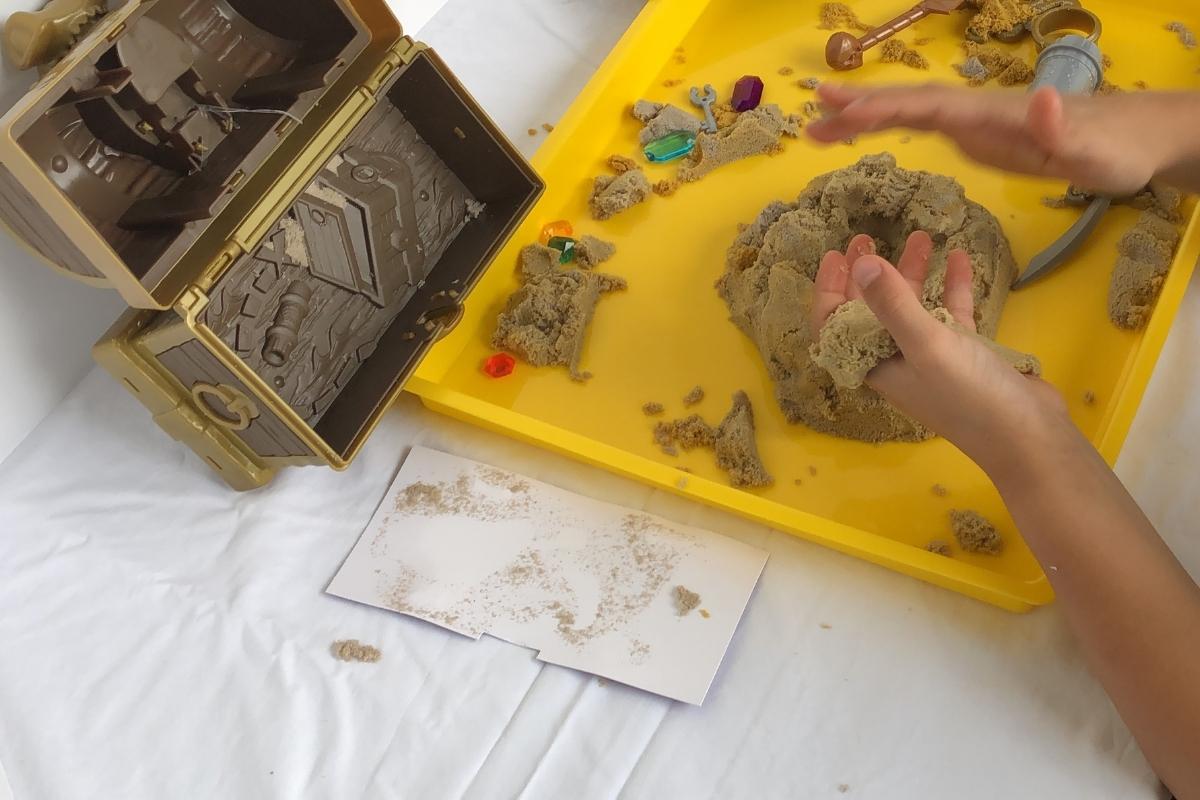
We discovered that using a drop cloth or an old sheet underneath the play area helps a lot! And when it’s time to clean up, just fold up the edges of the fabric and all of the sand will be contained.
If you don’t have Kinetic Sand, no worries! Regular sand or even rice would work for this sensory play activity. And if you don’t have a box large enough to bury your treasure in, an old Tupperware container or tray would work just as well.
You could also use a dinner, or kids’ play tray to keep the sand in a certain area.
Can Kinetic Sand Get Moldy?
Kinetic sand is non-toxic and doesn’t promote the growth of mold or bacteria.
However, it’s important to keep kinetic sand clean and dry, as it can become contaminated with dirt, dust, or other materials.
If you notice any mold or bacteria growing on your kinetic sand, throw it away and start fresh.
Can Kinetic Sand Get Wet?
If you add water to kinetic sand, it will turn into a muddy mess. However, if you let the sand dry out completely, it will be as good as new.
If you want to use kinetic sand for a wet activity, we suggest using our Aqua Sand(Space Sand/Magic Sand). It’s made specifically for sensory play in the water! We will have a future article on how to play with magic sand.
Is Kinetic Sand Reusable?
Yes, kinetic sand is reusable. You can simply store it in an airtight container when you’re done playing with it.
Is Kinetic Sand Healthy
Yes, kinetic sand is healthy! The ingredients are non-toxic and won’t cause any irritation. In fact, many parents use it as a sensory play activity for their children with autism or sensory processing disorder.
Kinetic sand is also believed to have some therapeutic benefits. The act of molding and shaping the sand can help to calm and focus the mind, while the tactile sensation can be soothing and relaxing.
What is the difference between kinetic sand and kinetic beach sand?
Kinetic sand is made of 98% sand and 2% polymer. The sand is coated with a polymer, which makes it feel softer and more moldable than regular sand.
Kinetic beach sand is a mixture of 90% sand and 10% polymer. The extra polymer helps the sand to stick together better, making it ideal for building castles and other structures.
Both types of sand are non-toxic and safe for kids to play with. However, kinetic sand is more expensive than kinetic beach sand if you’re going to purchase it from the store.
What Is The Best Kinetic Sand?
There are a few different types of kinetic sand on the market, but we think the best is the original Kinetic Sand recipe.
It’s made with 98% sand and 2% polymers, so it has a nice, sandy texture that’s perfect for molding and shaping. Plus, it’s easy to clean up and doesn’t make too much of a mess.
If you’re looking for a budget-friendly option, we like Crayola’s kinetic sand. It’s similar to the original, but it’s a bit cheaper. And, it comes in a variety of fun colors.
If you’re looking for kinetic sand that’s a bit different, we like Kinetic Rock from the Kinetic Sand company. It’s made with real rock, so it has a unique texture and feels. Plus, it comes in its own little sandbox, so it’s perfect for playing on the go.
How To Make A DIY Kinetic Sand Sensory Play Tray
Here is another kinetic sand sensory tray setup that you can put together.
What You’ll Need:
1. 1/2 cup of kinetic sand
2. A plastic container
3. A small shovel or spade
4. Small toys or treasures
Instructions:
1. Fill your plastic container with kinetic sand. You can use as much or as little as you like, but 1/2 cup is a good amount to start with.
2. Use your shovel or spade to bury small toys or treasures in the sand. You can bury as many or as few as you like.
3. Invite your child to dig in and find the buried treasures! They’ll have so much fun using their sensory skills to explore the sand and find all the hidden treasures.
4. Once they’re done, you can simply dump the sand back into the container and save it for another day.
Kinetic sand is a great sensory material for kids of all ages.
It’s soft and squishy, yet also moldable and sculptable, making it a perfect material for open-ended exploration and play.
And because it’s non-toxic and easy to clean up, it’s also safe for kids to play with.
If you’ve never played with kinetic sand before, this DIY sensory play tray is the perfect way to try it out. Not only is it super easy to set up, but it’s also a great way to encourage your child’s sensory development and fine motor skills. Plus, it’s just plain fun!
So what are you waiting for? Gather up your supplies and get started on your DIY kinetic sand sensory play tray today. Your kids are sure to love it!

If you would like a free account to design your own exciting children’s printables and worksheets visit Canva today.
Kinetic Sand Sensory Bin
This activity is perfect for those hot summer days! All you need is some Kinetic Sand recipe and a few small toys.
We like to bury a few dinosaurs or cars in the sand and then have the kids dig them out.
This activity can be done inside or outside. If you do it outside, just make sure to put a mat or something down first to contain the sand.
DIY Kinetic Sand Kit
1. In a large bowl, mix together 2 cups of sand and 1 cup of cornstarch.
2. Add 1/4 cup of water and stir until the mixture is wet but not too sticky.
3. Add food coloring if desired and knead the sand until the color is evenly distributed.
Kinetic Sand Sensory Play Conclusion
If you’re looking for a sensory activity that’s both fun and educational, try the kinetic sand recipe! Kids can learn about science while they play with this unique material.
You can use kinetic sand to create all sorts of shapes and figures. It’s also a great way to encourage creative thinking and problem-solving.
What’s really cool is that kinetic sand has so many recipes to play with. You could play with kinetic sand every day and have plenty of variations to choose from and play with. I love using kinetic sand as a sensory bin filler base and find it to be a fun and enjoyable material for kids’ sensory play activities!
Here Are Some Additional Sensory Play Activities