Two Fun Fall Sensory Bag Activities
Note: Affiliate links may be used in this post. I may receive a small commission at no extra cost to you if you use my affiliate link. Full disclosure policy here
What Is Sensory Play And How Does It Benefit Young Children?
Sensory play is a type of play that stimulates the senses. It can involve using different textures, smells, sounds, and sights.
Sensory play can benefit children in a number of ways. It can help them learn about their environment and the world around them. It can also help them develop new skills and abilities. Sensory play can also help children relax and have fun.
Sensory Play Benefits
- Learn To Interact With Their Environment
- Develop New Skills And Abilities
- Help Them Develop Their Fine and Gross Motor Skills
- Can Aid In Relaxation And Focus
- Helps Kids Have Fun In A Learning Environment
At What Age Can Kids Start Playing With Sensory Bags?
Most children can start to play with sensory bags as early as 6 months of age. I always tell parents to use their best judgment. Only allow your kids to play with items that you feel are appropriate for their age and skill level.
I would also say that parents should provide supervision when their kids are playing with toys or other items that could be harmful or damaging.
Sensory bags are great to use for kids from 6 months of age all the way up through toddlerhood. Some kids might not be ready to play with sensory bags or items until 12 months of age or older.
What Type Of Liquid Should I Use In My Sensory Bags?
You can use a variety of different types of liquids as filler mediums in your sensory bags.
Some of the choices available to you are:
- Oils (Mineral Oil, Canola Oil, Baby Oil, Vegetable Oil) You can find oils here
- Clear Hair Gel – You can get that here
- Water Mixture With Oil
- Hand Sanitizer
- Gelatine
For this sensory bag activity, we just used the hair gel that we bought at Dollar Tree.
About The Free Printable Used In Todays Fall Sensory Bag Activity
The free printable that we’re giving away for this activity are two different images. The first image is of a jack-o-lantern pumpkin, and the second image is that of a Fall leaf.
You can choose which image you want to use for your sensory bag or you could create a sensory bag for each item. You could also create just one sensory bag and change out the image when you’re wanting something different. This way you only need to create the sensory bag once and can have as many different images as you want.
What Materials You Will Need To Make These Fall Sensory Bag Activities
You are going to need some basic materials in order to make this Fall sensory bag activity. Here is a list of the items you will need.
- One Ziploc gallon-size bag or a heavy-duty gallon-size bag.
- Hair Gel, or another liquid medium to place inside the bag.
- Fall Themed sensory bag items
- Gold Glitter
- Orange Glitter
- Fall Leaf Sequins
- Thick Clear Tape or Packing Tape
- Fall Themed Printable Pumpkin and Leaf (Get that further up in the post)
These are the items that we used for these specific sensory bag activities, but you could use all sorts of different items to make your own bags. Here are some other ideas for items that you can use in your bags.
- Acorns
- Fall-Colored Fake Berries
- Fall Colored Sequins
- Fall Craft Pom Poms
- Fake Berries
- Dry Beans
- Red and Yellow Food Coloring
- Fabric Fall Colored Leaves
- Craft Foam Leaves
- Small Craft Pumpkins
- Small Pine Cones
- Fall Colored Water Beads or Orbeez
- Fall Colored Beads
How To Make The Fall Sensory Bag Activities
1. The first thing you will need to do is gather all of the materials that you’re going to use to make your Fall sensory bag activity.
2. The next thing you will need to do is print out the free printable sheet that will be taped to the Ziploc bag.
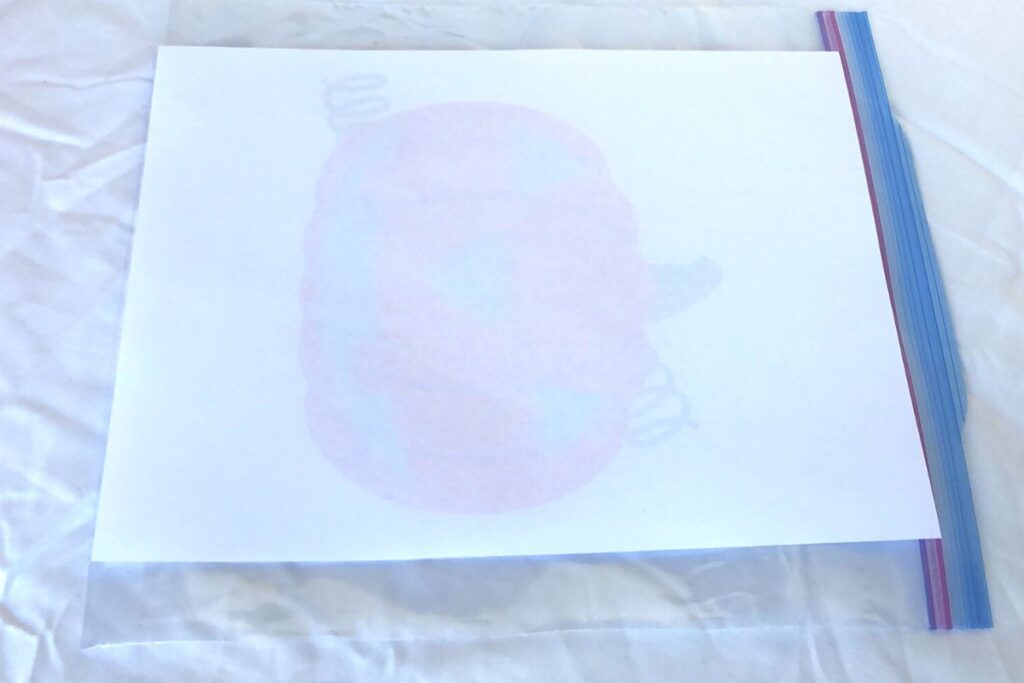
3. You will want to position the printable sheet face down on the Ziploc bag and tape it onto the bag. This way, when you flip the plastic bag over you will see the printable picture showing through the bag.
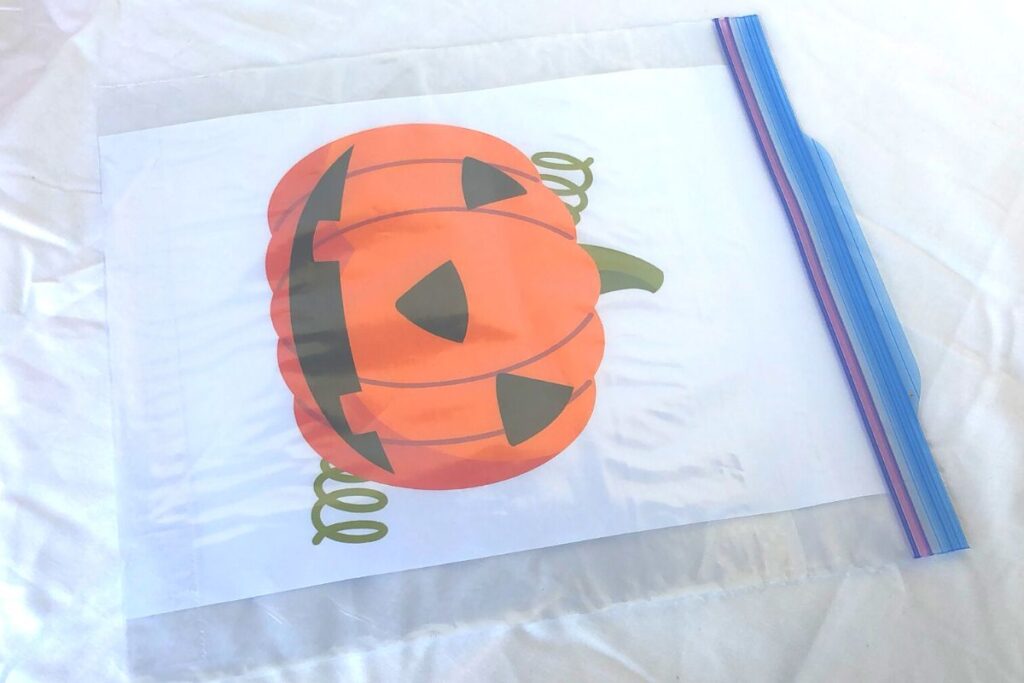
Your image should show up when you flip the bag.
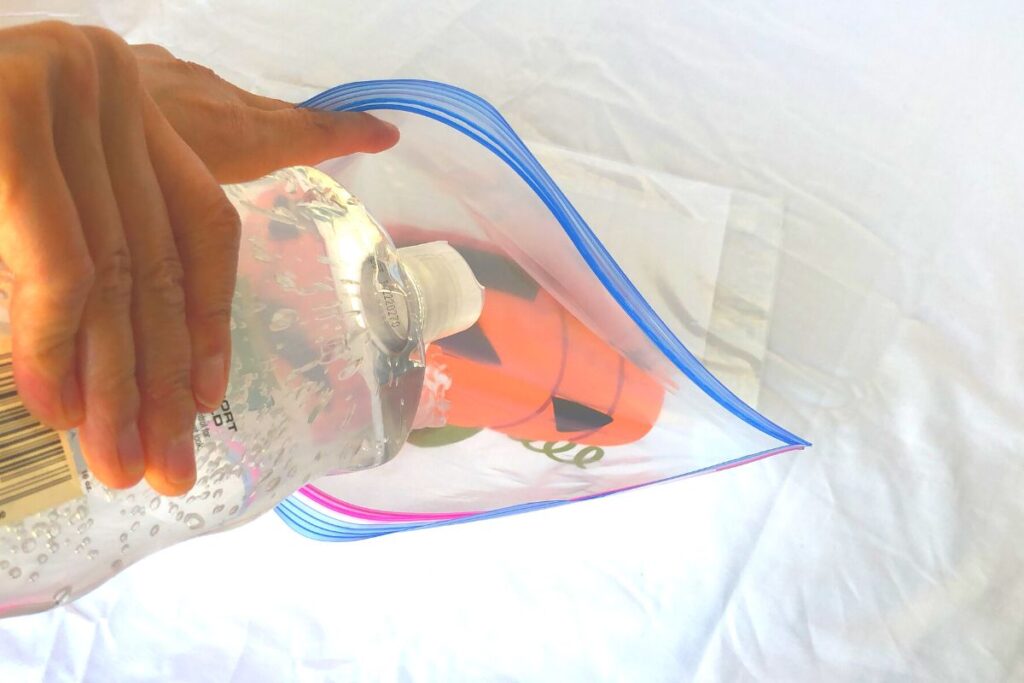
4. Next, add in the hair gel or whatever you have decided to use as the liquid medium.
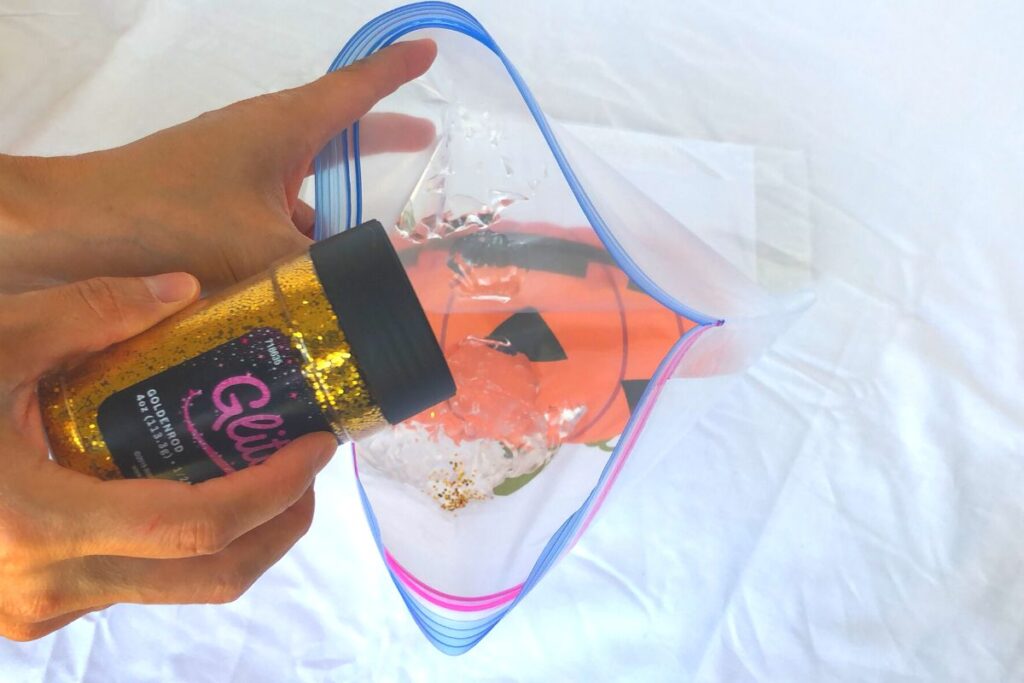
5. I then added some gold glitter and some shimmery orange glitter to the sensory bag.
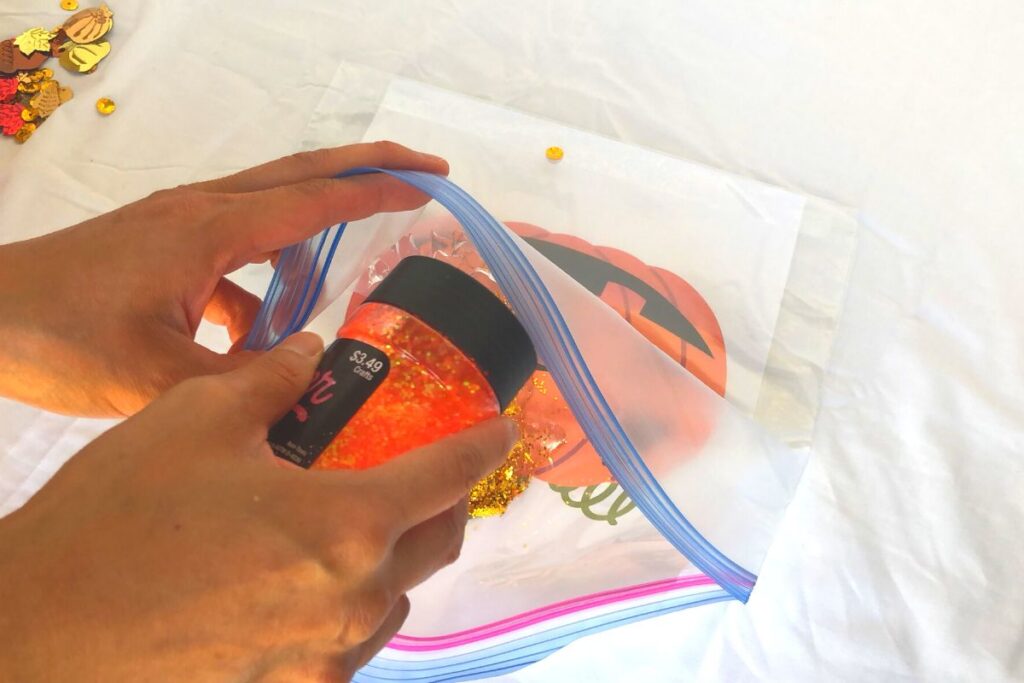
6. I then proceeded to add some Fall colored leaf sequins that I picked up from the store. Remember, you can totally add whatever your hearts desire into the sensory bag. Let your imagination run wild on this one.
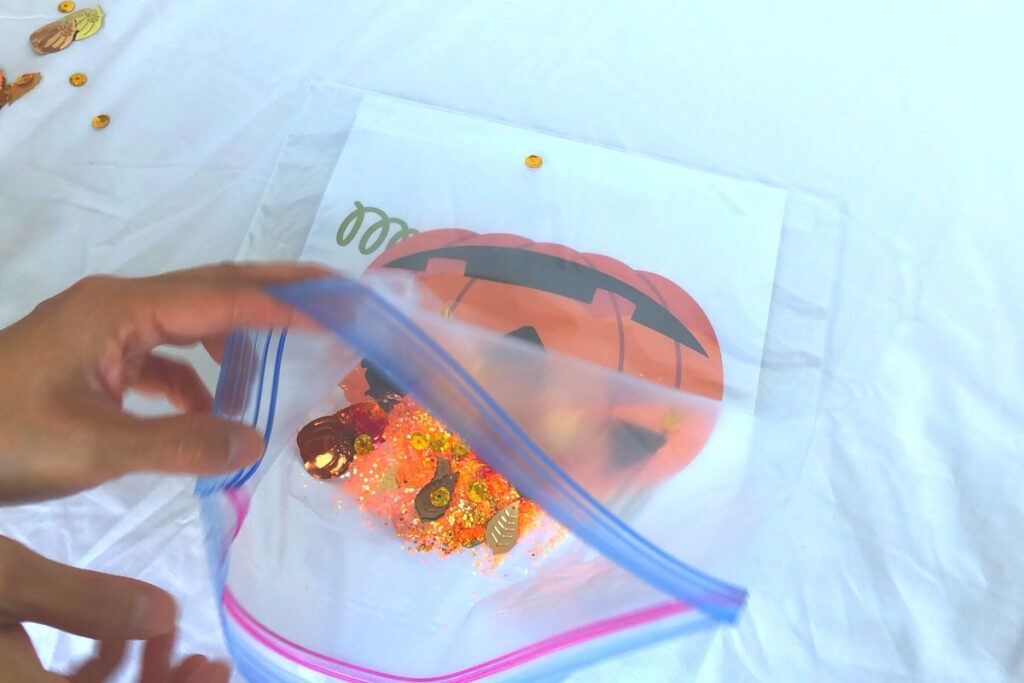
7. After you’re done adding in your Fall themed sensory items, you are going to want to push all the excess air out of the sensory bag and zip the bag closed.
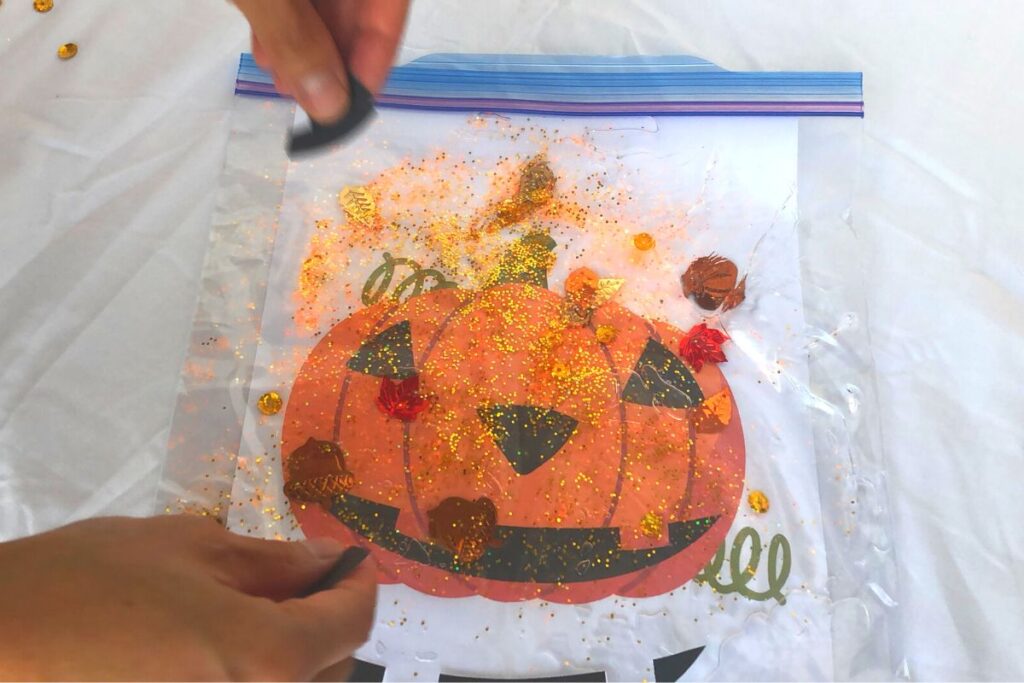
8. The last thing you need to do is to use packing tape to tape each side of the sensory bag. Doing this will help to prevent any of the contents or liquid inside the bag from leaking out.
Here Is A Picture Of The completed Fall Leaf Sensory Bag Activity
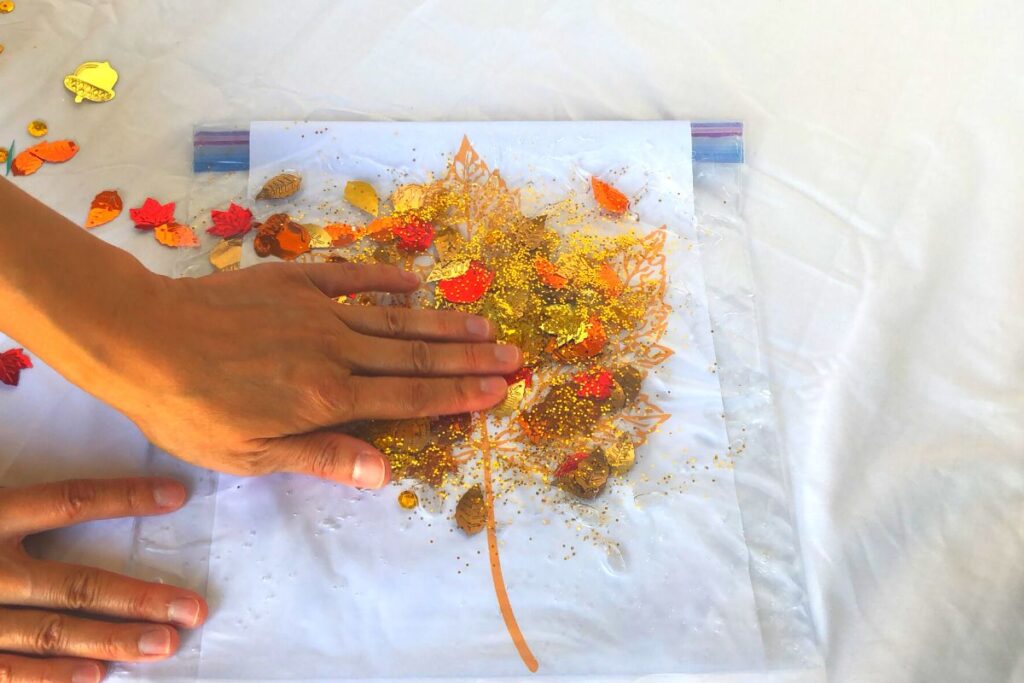
The Fall Leaf sensory bag activity was made in the same way that the pumpkin sensory bag was made. Simply follow the steps in the previous section in order to make this leaf sensory bag.
You could make any number of sensory bag variations by simply changing the printable pictures you use or by changing the sensory bag fill items you use.
Creating Sensory Play Items Is So Fun – In Conclusion
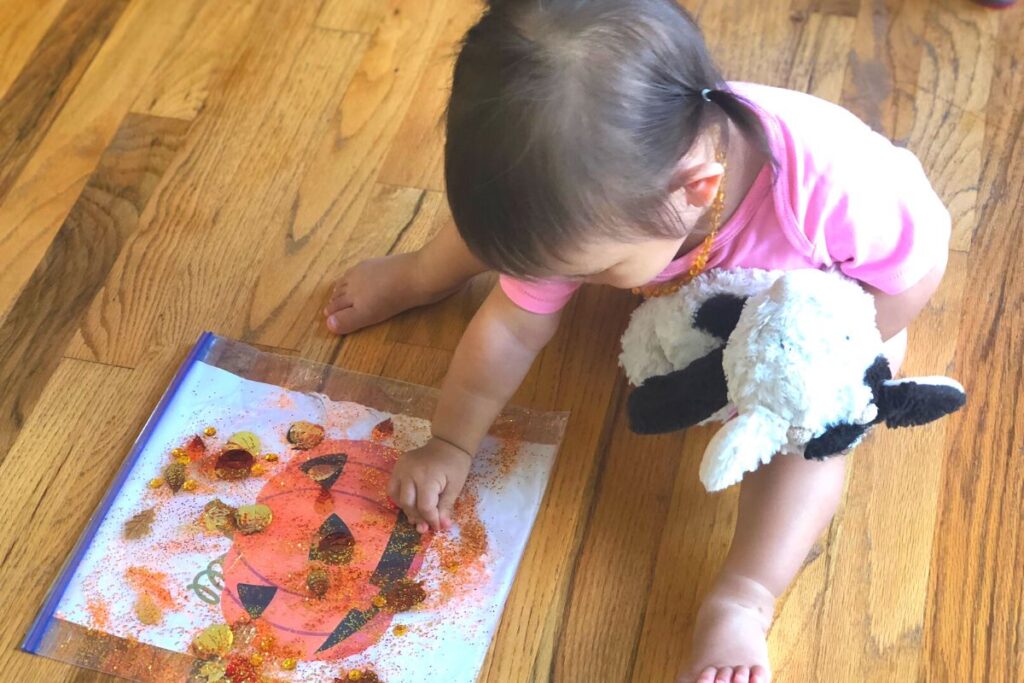
We just love creating new sensory play resources. It is a true joy to see these resources being enjoyed by our kids, and we hope that you and your children will get the same joy out of creating your own Fall sensory bag activities.
Be sure to subscribe to our newsletter to get updates when we publish new posts and release new printable resources. Also, remember to pin our images to Pinterest to save for later. Have a great Fall season!
Check Out Our Other Sensory Bag Activities Here
Earth Day Sensory Bag Water Bead Activity
New Year’s Day Sensory Bag Toddler Activity and Free Printable



One thought on “2 Free Printable Fall Sensory Play Bag Toddler Activities – Fall Sensory Bag”
Comments are closed.